The transfer of a member is only available to organizations. Individual teams cannot transfer members. The option to transfer a member allows you to move a player from one team to another within the same organization.
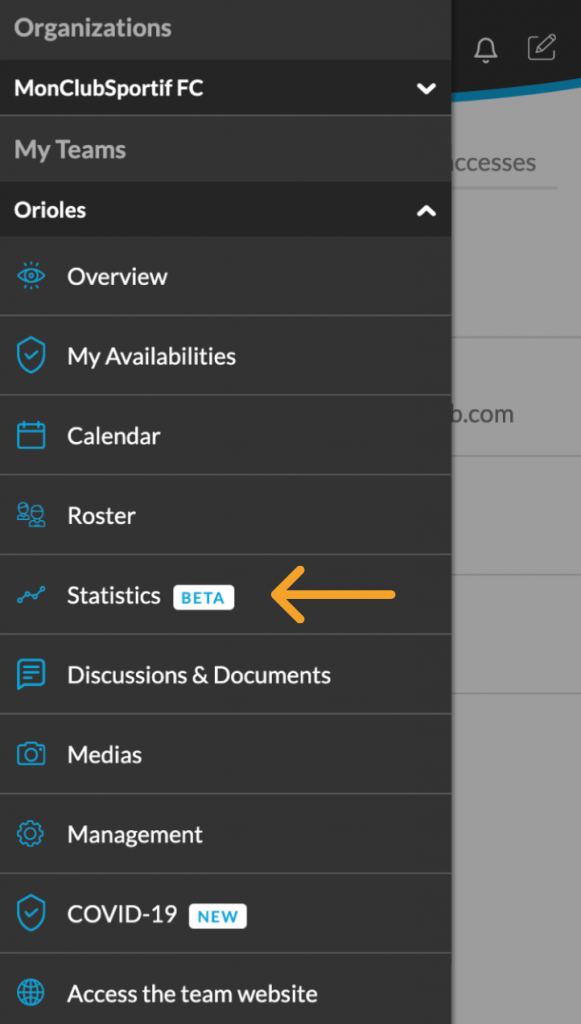
Step 1: Sign in, then choose your organization. Click on the “Statistics” tab.
Step 2: Go to the “Manage” sub-tab for add, delete or modify a statistics or a statistics category.
Step 3: It is always possible to create custom statistics. That’s it! Here’s what you can do:
- Change the order in which you want them to appear with the cross symbol onthe left.
- Delete or Modify the statistics by clicking on the 3 small dots at the top right and on “Manage existing fields”.
- The pencil to modify
- The trash to remove
- Add statistics by clicking on the 3 small dots on the top right, then on “Add a new field”
- Add categories by clicking on the 3 small dots on the top right, then on “Add a new category”
- You will be able to move the statistics under the category created afterwards
Step 4: You are now ready to enter the first data. Go to the “Matchs” sub-tab to have an overview of your team’s games.
Step 5: To enter new statistics or have a look at a particular game’s existing statistics, click on the name of the game. You will have access to the data entered for the game. You can also enter new data by using the pencil at the top right. Once your statistics are entered, click on the check sign “Save statistics” at the top right to save them.
Step 6: You can see the players’ individual statistics by clicking on the “Players” sub-tab. You can rank the statistics using the arrow next to “Players”.
Step 7: Go to the “Season” sub-tab to see the overview of the season. You will have access to a quick summary of the statistics on the scores and the availability of the players.
There you go! You can now easily follow the progress of your players and your team !
If you have any questions, do not hesitate to contact us, it will be our pleasure to help you.


