Congratulations! You have chosen to simplify your sports team management tasks. Now all you have to do is follow these steps. If you’ve already created your team, you can go directly to step 2!
Step 1: Create your team
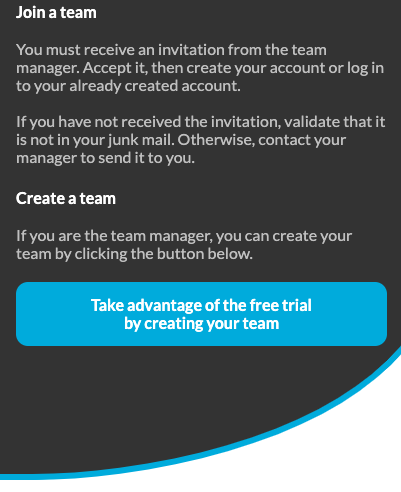
You can create your team via the form on our website or directly in the application by clicking on “I don’t have a team, what now?”
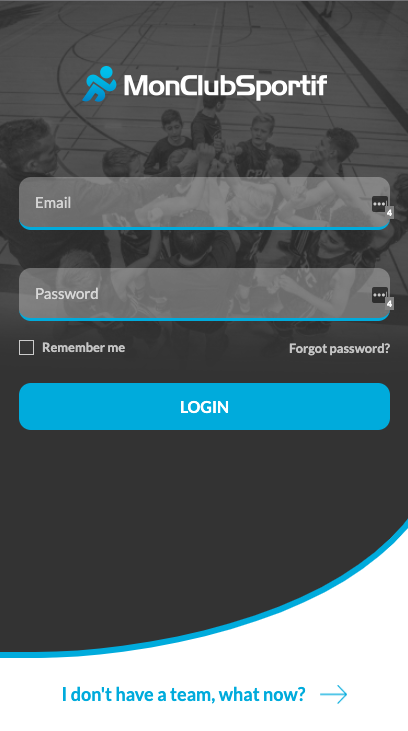
Step 2: Login
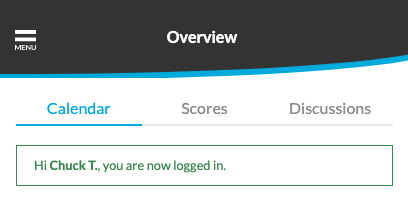
Once your team is created, simply log in to the application to start managing your team.
Step 3: Add players
3 options are available. To simplify your task, we have put them in order from the easiest to the most demanding :)
- Open registration link: You simply share a link. Players (or parents) click, then fill out a form to register. Here’s how to activate the link.
- Importing a list of members: You import an excel or csv file with the information of your members. Here’s how to import your list.
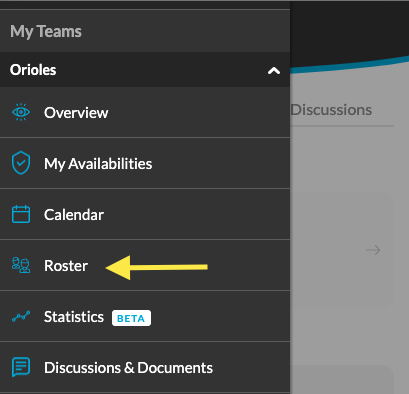
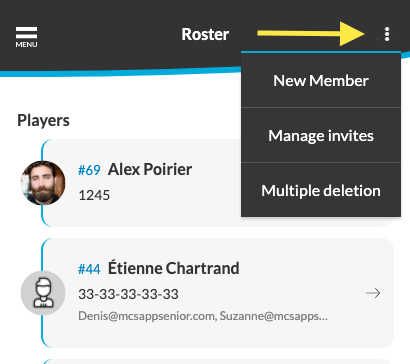
- Create one by one: You add all members individually. For the walkthrough, take a look at the following screenshots.
Fill in the required fields with the information and contact details of this member.
If you wish to give the management rights of your team to one of these members, check the box “Access to team management”.
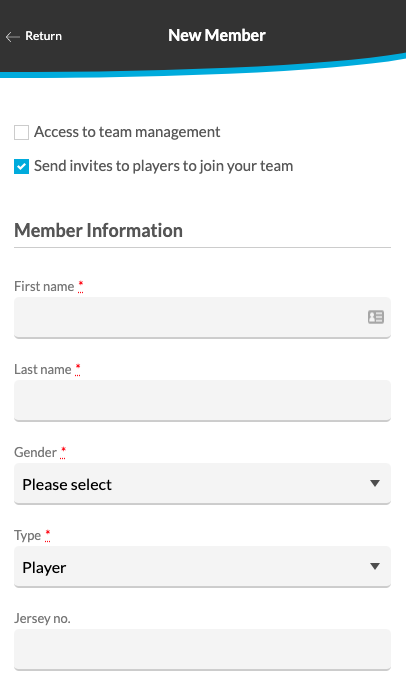
When you have entered all the necessary information and are ready to register this member, click on the “Save” button.
Congratulations! A message will be displayed to confirm that you have added a member to the team. You can now congratulate yourself for registering your first member to your team.
Step 4: Add your team calendar
Now that the players have been added, we need to add the events (ex: practice, games, etc.) and games of the season. You have 3 options. Again, in order from the easiest and fastest to the longest and most demanding :)
- Import the calendar: You import an excel or csv file of your calendar. Here’s how to do it.
- Add recurring events: You create an event, then indicate “recurring”. For example, every Thursday at 6pm at the 4 seasons park. This is the same form as for the individual creation.
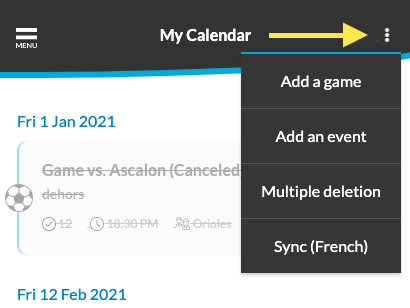
Note that it is possible to do it only for events and not for games. - Create each event: You create each event individually. By clicking on the 3 dots in the upper right corner, just choose match or event.
The application is now fully functional! Over the next few days, your members will be notified to indicate their attendance at events.
Step 5: Attendance tracking
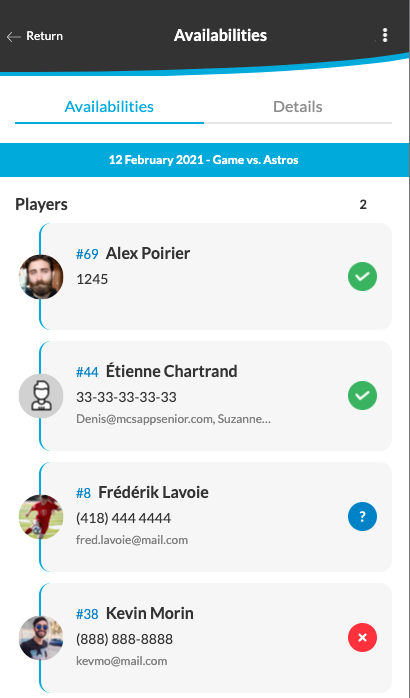
In the “Calendar” tab, by clicking on an event, you will be able to see the attendance of your members.
You now know the basics of the application, but there are still a lot of nice features to discover.
You can view our top 4 best features here:
- Monitor the health condition of its members in order to comply with health regulations.
- Synchronize your team calendar with your personal calendar.
- Sharing access to an account with another person (e.g., sharing the youth’s account with each of his or her parents).
- Use our statistics feature for performance and attendance statistics.
For more information, contact us at [email protected]
Have a good season!